Wednesday, October 17, 2012

Symmetrical Paper Fold


I reinforce symmetry with my fourth graders through this paper fold project. They are a colorful, symmetrical, 3D work of art that my students really enjoy to make! We discuss patterns, designs, symmetry, folding, folding, and gluing during this project. The project only takes about 2-3 hours, so it's also a nice change of pace!

Materials: 
  • one 12x12 (I use black) piece of construction paper
  • multiple 3x3 pieces of construction paper in various bright colors
  • glue
 Procedure:

 
Fold the 3x3 piece of paper in half
Fold both corners (on the folded side) up.


Fold the 12x12 piece of background paper either corner to corner or side to side. Refer to the crease that was made as "the line of symmetry". Glue each folded paper on the 12x12 piece of paper on opposite sides of the line of symmetry (making sure they are symmetrical). Create a design with the folded papers by laying them inside of each other! I give the students the freedom to do whatever they want with their design as long as it is symmetrical.


Monday, October 15, 2012

Giant Paper Sunflowers


Our first cutting project in kindergarten is finally here! Some vocabulary I stress with this project are words like: cut, glue, trace, overlap, texture, diagonal, rectangle, and square.

Materials:
  •  one 6x6 brown square (center)  
  • four 3x6 yellow rectangles (petals)
  • one3x6 green rectangle (leaves)
  • one long green strip (stem) 
  • glue 
  • scissors 
  • black marker 
  • butter lid or circle tracing template
Procedure:  
Discuss the parts of a flower. The center, seeds, petals, stem, and leaves. Show the class an example of a paper sunflower.  Demonstrate how to trace (using a butter lid) a circle on the brown square.  Demonstrate proper use and carrying of scissors. Cut out the circle. Use a black marker to draw circles inside the brown circle. This will create a texture that resembles seeds. Demonstrate how to make two triangles from a rectangle by cutting the yellow rectangles diagonal (corner to corner) to make the flower petals. Glue the flower petals to the back of the brown circle, allowing them to slightly overlap (like holding hands).  Do the same with the green triangle. Glue the leaves to the back of the stem, and glue the stem to the back side of the flower. See the pictures below!


Jenna is gluing her petals on the back making sure they overlap.
Drawing sunflower seeds starting around the outside edges first.

We made sure to glue the stem and leaves on the back as well!


  The flowers are as big as my students! :) Have a good week!
-Miss Scannura


Friday, October 12, 2012

Symmetry Tiles

In 2nd grade grade we talk about symmetry and what it means to be symmetrical. For most of my students this lesson is good for reinforcing what they have previously learned about symmetry. In first grade we do a mosaic buttery and I teach my students that symmetry means "the same on both sides". For the symmetry tiles I also talk about pattern, shape, line, unity, and repetition.This project takes 3-4 hours to complete.
My students and symmetry... and Pajamas. They were having a party that day.

Materials:
White paper (12x12in), tape, a sunny window, and markers.

Procedure:
Discuss and view examples of symmetry. Ask students if they can think of other everyday objects that are symmetrical (butterfly wings) Demonstrate how to make a wall tile by folding the square white paper point to point creating a triangle. The fold down the middle is the "line of symmetry". Students are to draw a design, using a black marker, on one side of the triangle. Students will then trace the pattern onto the other side (this can be easily achieved by having students tape the paper to the window. When students open up the square paper, there will be a symmetrical design. After the design is finished, students may color and decorate it with patterns and designs. The colors and designs should also be symmetrical. Stress neatness, contrast, variety, and unity.


Tuesday, October 9, 2012

Pumpkin Paintings

My friend Jenna and I at Kristin's Pumpkin Patch in Springfield.

 It's the time of the year for pumpkins! A pumpkin is the perfect subject matter for our first kindergarten painting. This project itself only takes about 15-20 minutes, but there is so much to explain prior that it still takes most of the hour long class. Usually I have enough time to read a fall themed book to my students. This year I read Sixteen Runaway Pumpkins, by Dianne Ochiltree. 


Materials:
18x24 white paper, tempera paint (orange, red-orange, and green), paint brushes, cups, paint shirts. 

Procedure:  
Discuss and demonstrate a basic color wheel of primary colors, how to mix secondary colors, and add them to the color wheel. Discuss and demonstrate basic painting 
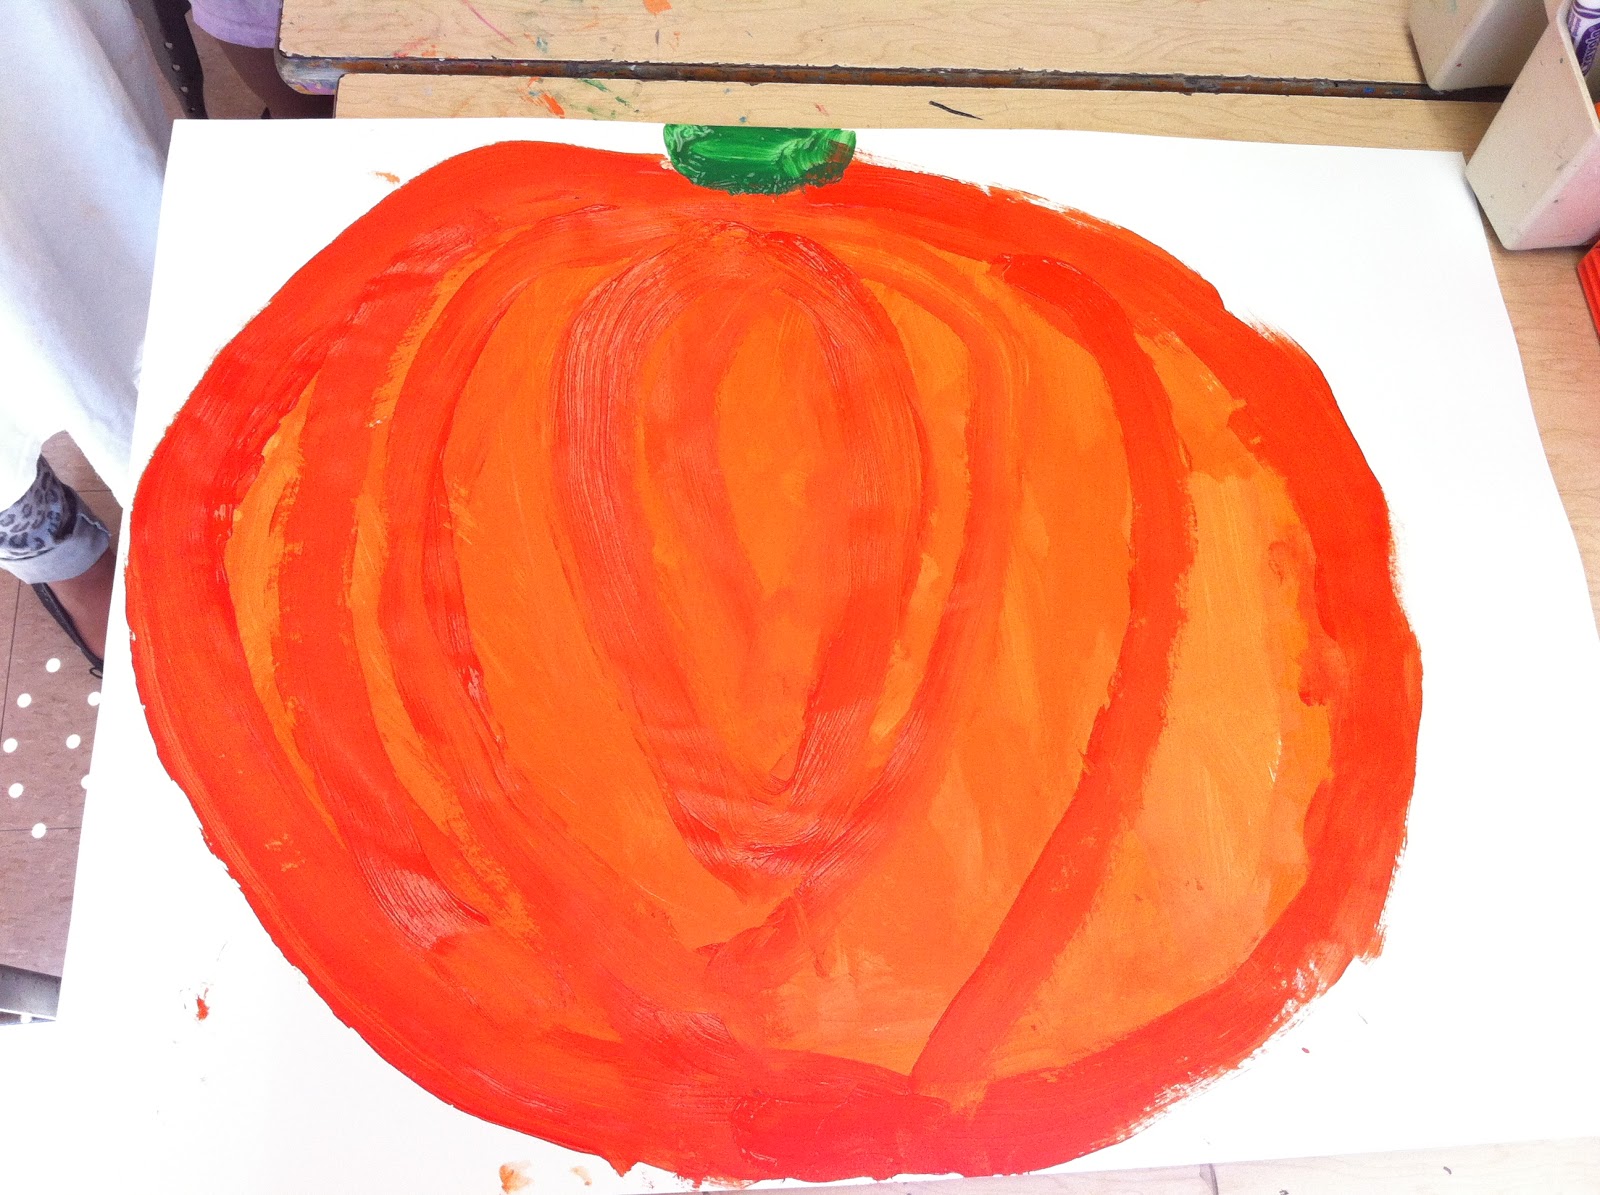
procedures. Using orange paint, demonstrate painting a basic pumpkin (round) shape and filling it in. Once the pumpkin is entirely filled in with orange paint, demonstrate adding ridges (red-orange or yellow orange), and adding a green rectangular stem. Students will put on their paint shirts and paint their own pumpkin.
Jenna demonstrating how to paint the outline of a pumpkin.

Pumpkins on display!
 Hope you enjoyed all the pumpkins!
-Miss Scannura